

After showing you how to make your own dotting tools,here is some inspiration for polka nails:
(for each tutorial please click on the link provided above the picture)
 |
| http://pinterest.com/pin/209206345160465347/ |
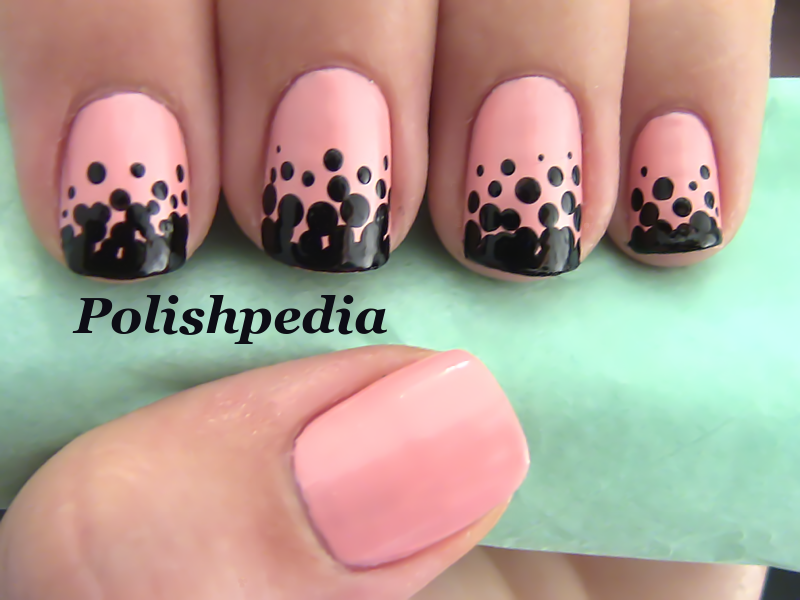 |
| http://polishpedia.com/gradient-polka-dot-nails.html |
 |
| http://s-lacquer.tumblr.com/post/26452383639/interlocking-dots-tutorial-you-will-need-two |
 | ||
http://www.chalkboardnails.com/2012/06/gradient-dot-manicure.html
**And in the following tutorial Lynnie shows us how to create the perfect dots easily: |

You will need:
- basecoat
- topcoat
- nail varnish for your main, base colour
- nail varnish in at least one contrasting nail varnish for the dots
- a ballpoint pen
Prep nails as usual – remove all traces of old nail varnish, file into desired shape, massage in cuticle oil, push back cuticles if required, and wipe down one final time with nail varnish remover to degrease the nail plate – and apply one thin coat of basecoat.

1. Apply one-to-three thin coats of your chosen all-over colour – just enough to achieve opaque bottle colour. Then use the brush from your second bottle of colour to create a decent sized drop of the nail varnish you’ll use to create the dots on a piece of plastic or stiff paper.

2. Dip the nib of a ballpoint pen (one that’s used up is ideal, but not essential) into that nail varnish reservoir. The further into it you sink your pen, the more nail varnish it’ll pick up, and the larger your dot will be.

3. Gently press the nib of the biro onto your nail and lift away again to leave behind a dot of colour.

4. I find it easiest to do a line of dots down the centre of the nail and work outwards from there, and recommend that you occasionally wipe the nib clean to prevent it from dragging thin threads of beginning-to-dry nail varnish across your design.
")
5. Dots that are laid out on a very definite grid pattern look modern and give a near studded effect (I’m going to try it using a blinging gunmetal grey)…

6. … while ones that are staggered have a real retro feel.
Finish with a topcoat (applied carefully to prevent dragging or bleeding of the colours) and sit back and admire your handiwork while it dries. Et voila!